
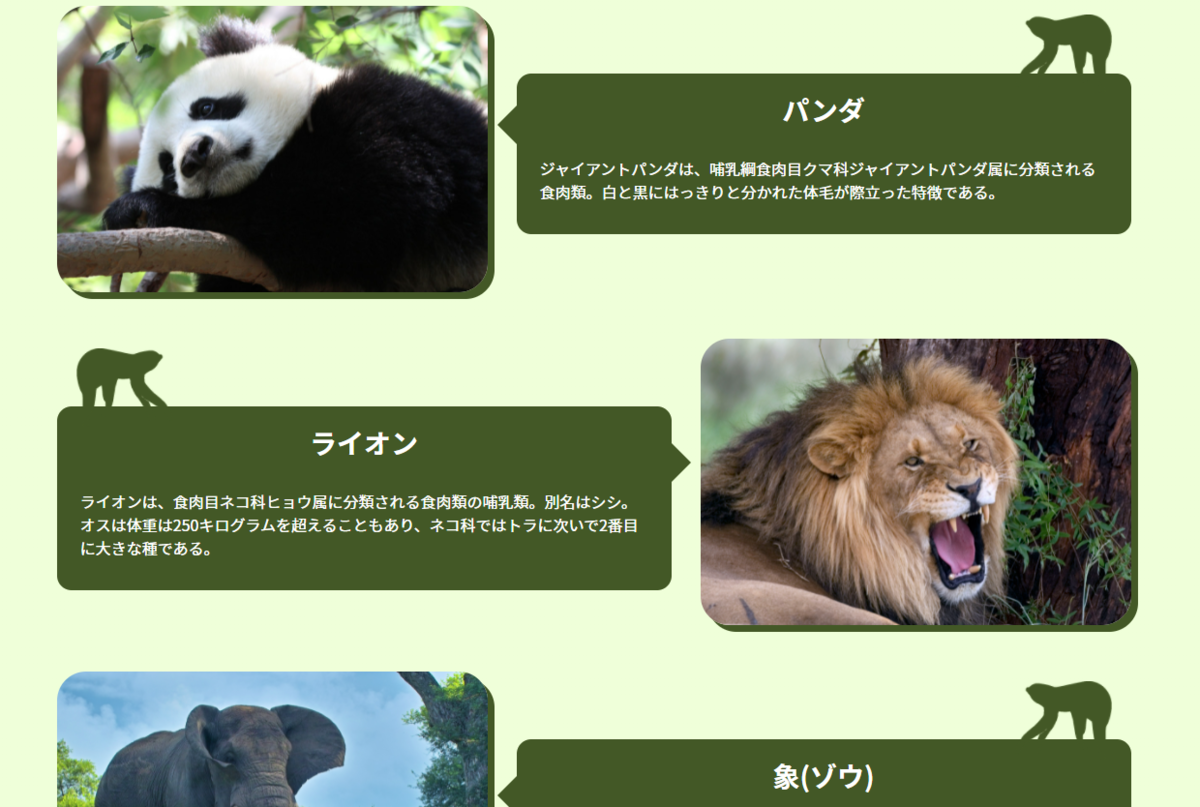
注目の動物セクションを作成します。
1.見出しとグラデーション設定
最初にセクション見出し(h2)と、背景のグラデーションを設定しましょう。
背景画像設定用に、sectionタグに「animals」クラスを加えます。
html
<!-- ============================
/  注目の動物
/============================= -->
<section class="animals">
    <div class="container">
        <h2 class="text-center">
            注目の動物
        </h2>

    </div><!-- /.container -->
</section>
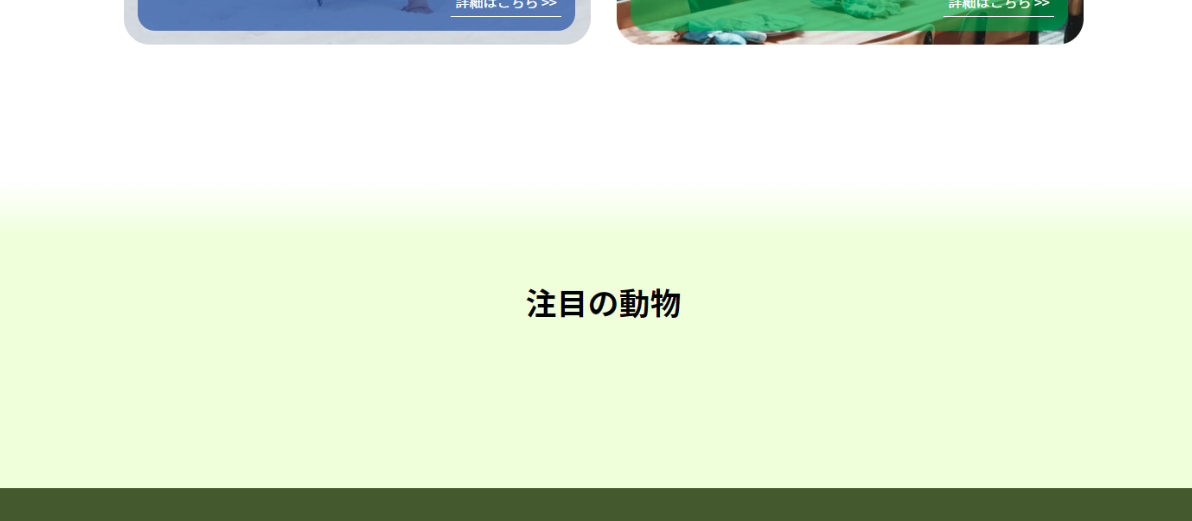
グラデーションはlinear-gradient()を使って、白から 薄い黄緑色 #f0ffd7で作成します。
グラデーションの目安は、見出しと重なる時点でグラデーションが終わっていること。
このため、トップから4rem以降は#f0ffd7になるよう設定します。
css
.animals{
  background: #f0ffd7;
  background: linear-gradient(
    #FFFFFF 0%,
    #f0ffd7 4rem,
    #f0ffd7 100%
  );
}
/* 見やすいように改行しています。 */
/* 改行せず続けて書いても良いです。 */
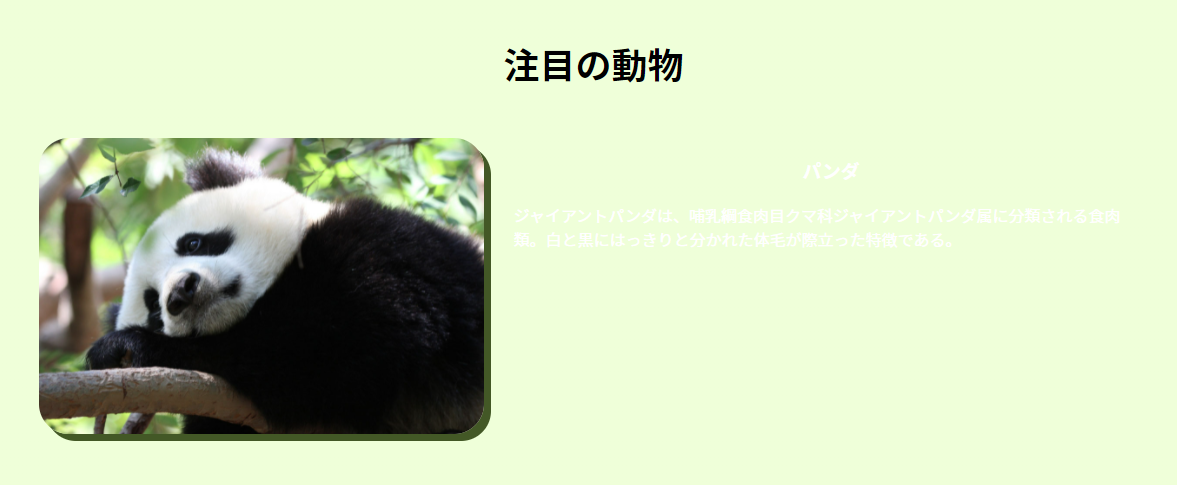
前回 main > sectionにpaddingを設定しました。
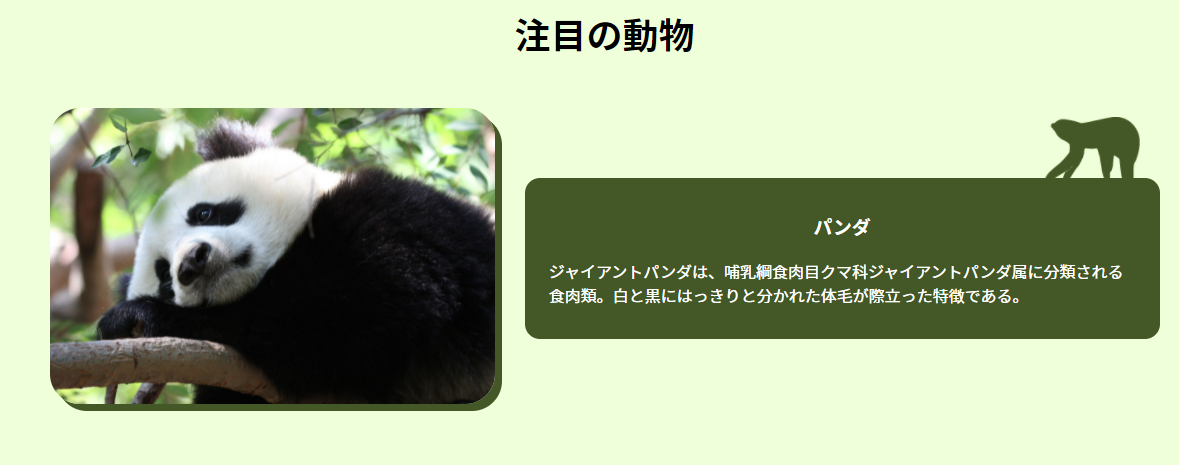
その余白が効いて、下図のようにグラデーションが確認できます。
2.パンダの説明を作成
動物紹介の一番上、パンダのところを作ります。
2-1.横並びを作る
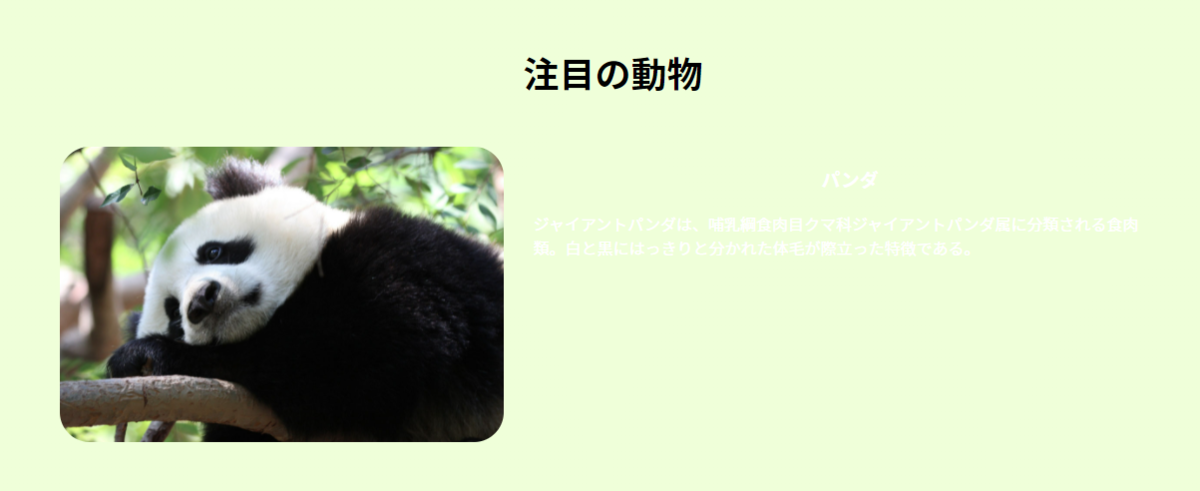
まず、画像とテキストの横並びを作ってしまいましょう。
html
<!-- ============================
/ 注目の動物
/============================= -->
<section class="animals">
<div class="container">
<h2 class="text-center">
注目の動物
</h2>
<!-- ここから追加箇所 -->
<article class="row mt-3rem">
<div class="col-5">
<img src="images/panda.jpg" alt="パンダ" class="w-max100 b-radius30">
</div>
<div class="col-7 text-white">
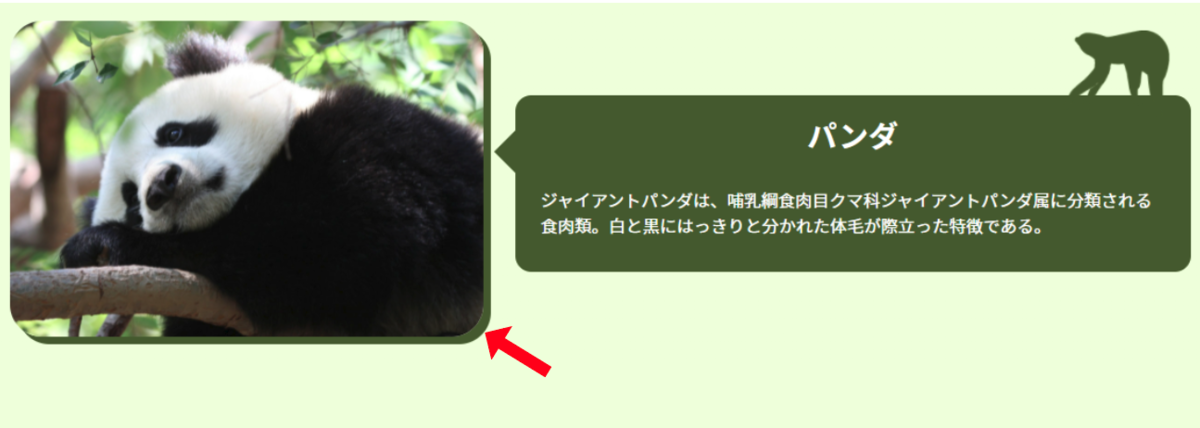
<h3 class="text-center">パンダ</h3>
<p>
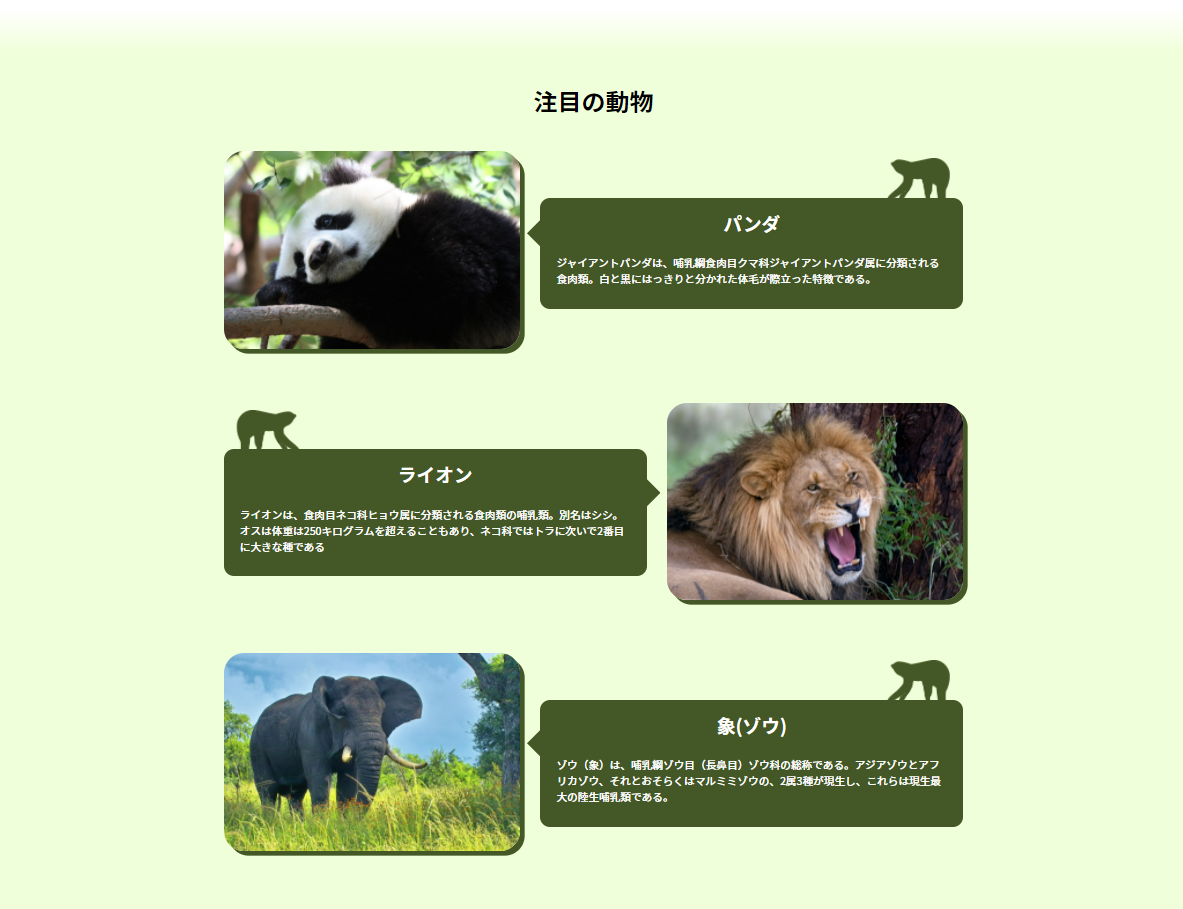
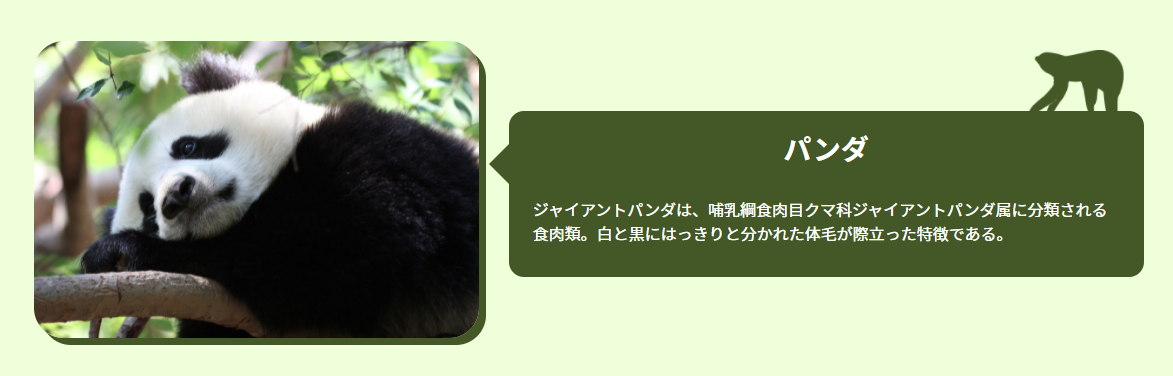
ジャイアントパンダは、哺乳綱食肉目クマ科ジャイアントパンダ属に分類される食肉類。白と黒にはっきりと分かれた体毛が際立った特徴である。
</p>
</div>
</article>
</div><!-- /.container -->
</section>
2-2.画像の装飾
パンダの画像に、ヘッダーやフッターと同じ深緑色■ #445721で影をつけます。
imgタグに「animal-photo」クラスを追加。
box-shadowプロパティを使って、ぼかし無しで影を加えます。
html
<img src="images/panda.jpg" alt="パンダ" class="w-max100 b-radius30 animal-photo">
css
.animal-photo{
  box-shadow: 7px 7px #445721;
}
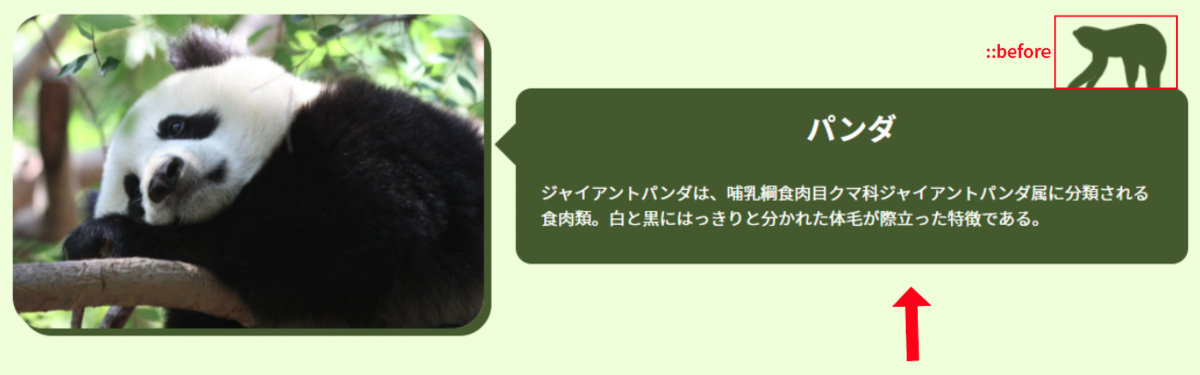
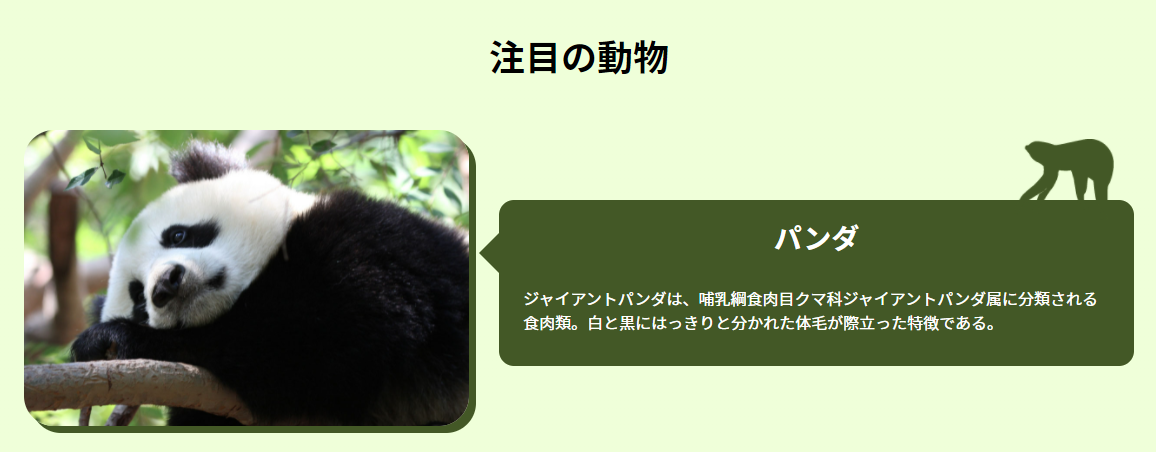
2-3.吹き出しを作る
右側、.col-7内にある吹き出しを作ります。
上に乗っているナマケモノのシルエットは全吹き出し共通。
決まったクラスを使えば自動的に表示されるように、擬似要素(::before)で作ります。
.col-7の中にもう一つ、見出しとテキストを包むdivを作ります。
追加したdivに、吹き出しを設定するための「animal-balloon」クラスを追加。
更に背景色指定の「bg-dgreen」と、疑似要素用の「position-relative」クラスを加えて下さい。
html
<div class="col-7 text-white">
    <div class="animal-balloon bg-dgreen position-relative"><!-- 新規追加箇所 -->
        <h3 class="text-center mt-0">パンダ</h3>
        <p>
            ジャイアントパンダは、哺乳綱食肉目クマ科ジャイアントパンダ属に分類される食肉類。白と黒にはっきりと分かれた体毛が際立った特徴である。
        </p>
    </div>
</div>
.animal-balloonの角丸や余白、::beforeを使って右上に画像を表示させるCSSを書きます。
css
.animal-balloon {
  border-radius: 15px;
  margin-top: 70px; /* ::beforeのtop値 */
  padding: 1rem 1.5rem;
}

.animal-balloon::before {
  content: "";
  position: absolute;
  top: -70px;
  right: 20px;
  width: 100px;
  height: 100px;
  background: url('images/animal-bg.png') center no-repeat;
  background-size:  100px auto;
}
widthやheightの値で画像の表示位置が変わります。
テキストエディター上で一発で決めるのは難しいので、検証ツールで実際の表示を見ながら決めていくと進めやすいです。
::afterを使って、.animal-balloonを吹き出し風にします。
h3の大きさも見本にあわせて変更しましょう。
- .animal-balloonの右側に三角を作る
- h3の文字サイズ・余白を調整
css
.animal-balloon::after {
  content: "";
  position: absolute;
  top: 20%;
  left: -20px;
  border-style: solid;
  border-width: 20px 20px 20px 0;
  border-color: transparent #445721 transparent transparent;
}

.animal-balloon h3{
  font-size: 28px;
  margin-top: 0;
}
3.ライオン・ゾウの説明を作成
3-1.複製する
作成したパンダの<article> ~ </article>を複製して、ライオンとゾウのパーツを作ります。
まずは、3つ同じ向きで作ってください。
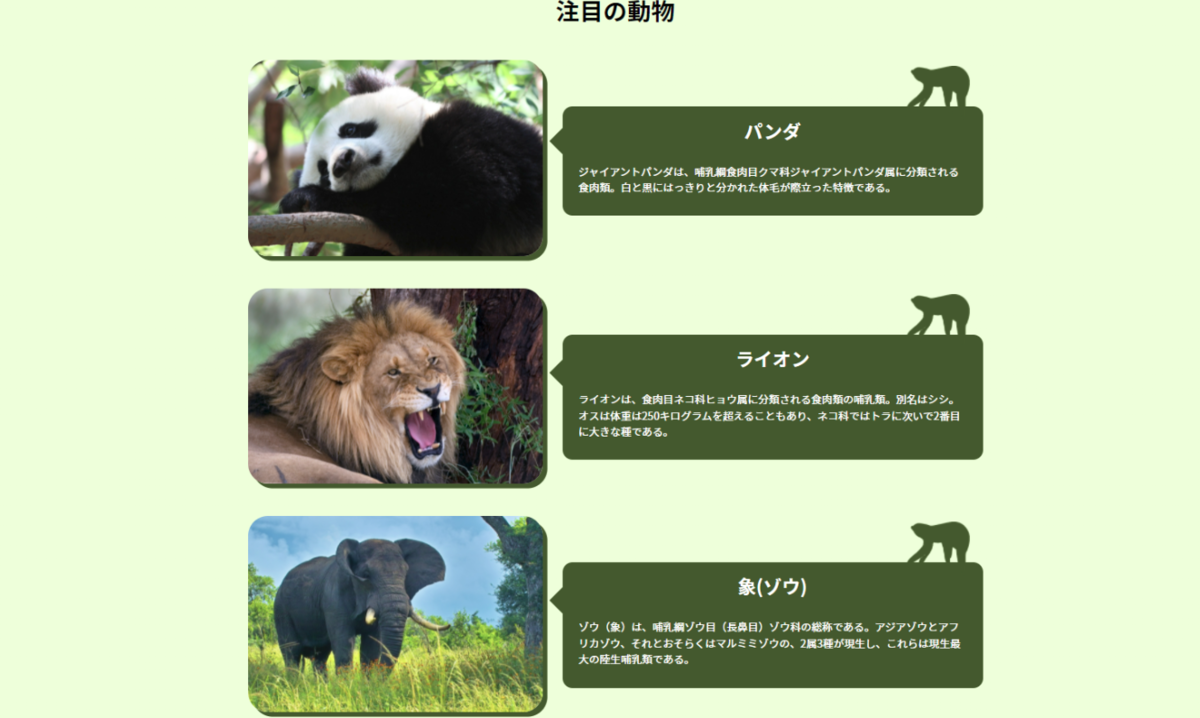
3-2.ライオンの左右を入れ替える
2番めの「ライオン」の左右を入れ替えます。
全体を囲っているarticleタグに、reversalクラスを新しく加えます。
html
<article class="row reversal mt-3rem">
    <div class="col-5">
        <img src="images/lion.jpg" alt="ライオン" class="w-max100 b-radius30 animal-photo">
    </div>
    <div class="col-7 text-white">
        <div class="animal-balloon bg-dgreen position-relative">
            <h3 class="text-center">ライオン</h3>
            <p>
                ライオンは、食肉目ネコ科ヒョウ属に分類される食肉類の哺乳類。別名はシシ。オスは体重は250キログラムを超えることもあり、ネコ科ではトラに次いで2番目に大きな種である。
            </p>
        </div>
    </div>
</article>
reversalクラスを使って、左右を入れ替えたときのスタイル指定を書きます。
- flexアイテム(col-5とcol-7)の並べ順
- animal-balloon::before,afterの位置と向き
向きを反転させるには、transformプロパティのscale()を使うと便利です。
scale()では、X軸、Y軸を基準に拡大縮小が行なえます。
基本的には下記の認識で大丈夫です。
- X軸:横方向
- Y軸:縦方向
縮尺比率は「1」が100%を示します。
0.5であれば50%に縮小、マイナスを付けて負の値を設定すると反転します。
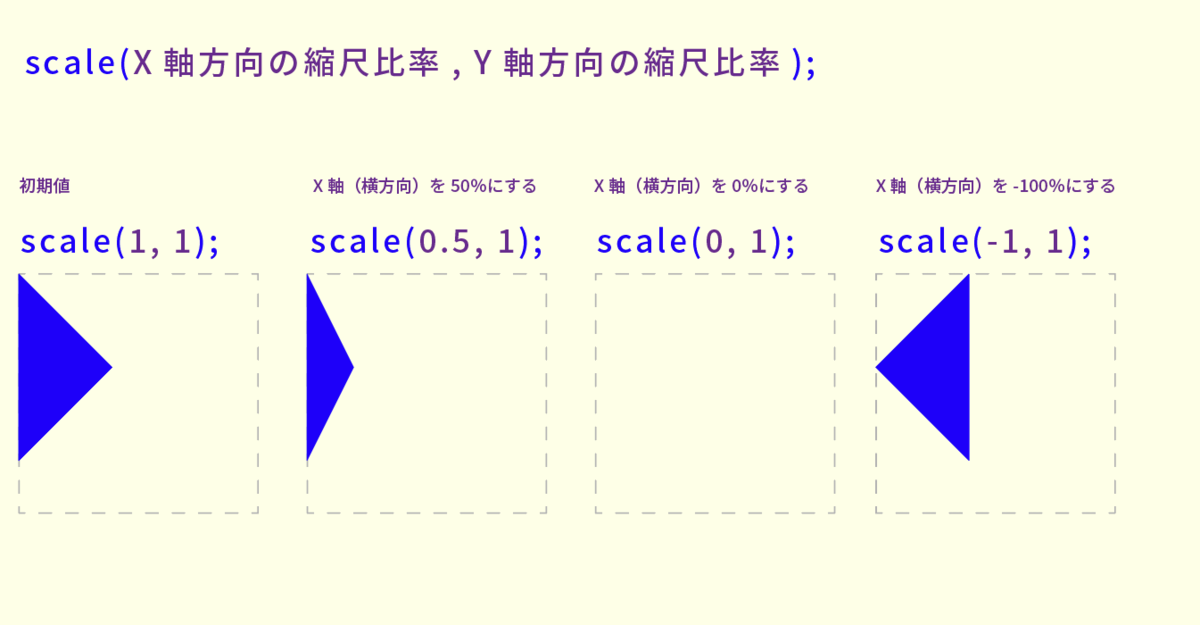
この仕組を使って、before, after の向きを反転させます。
css
/* --- 反転 --- */
.reversal .col-5{
  order: 2;
}

.reversal .animal-balloon::before {
  left: 20px;
  transform: scale(-1, 1);
}

.reversal .animal-balloon::after {
  left: auto;
  right: -20px;
  transform: scale(-1, 1);;
}
3-3.余白を広げる
article間の間隔が狭いので、もう少しmargin-topの値を増やします。
mt-5remクラスを作って、ライオンとゾウを囲っているarticleタグのmt-3remクラスと置き換えます。
css
.mt-5rem{
  margin-top: 5rem;
}

これで注目の動物セクション(PC幅)は完成です。